This article will lay out the steps to creating a new Warranty claim for your new home through Buildertrend's Customer Portal.
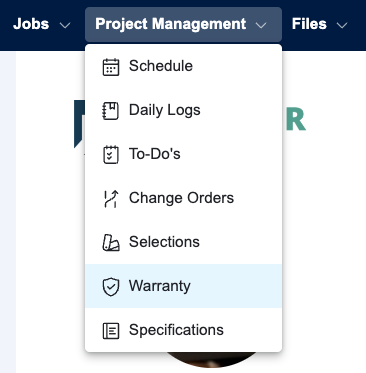
The instructions below will outline how to create warranty claims from within their Customer Portal. To begin this process, navigate to the Project Management header within your Customer Portal and select Warranty.
To create a new claim, click the New Claim button. (You may see “Available Until…” text next to the button. This indicates that your warranty period to create these claims up until the date shown here.)

Within the Warranty Request page, you can Title the claim request, choose the Category that best fits, and give the request a Priority and Description, if necessary.
There is also an option to add an attachment, giving you the opportunity to share detailed pictures or documents about the claim you are requesting. We always recommend uploading pictures when possible for us to better assess claim in a timely manner.
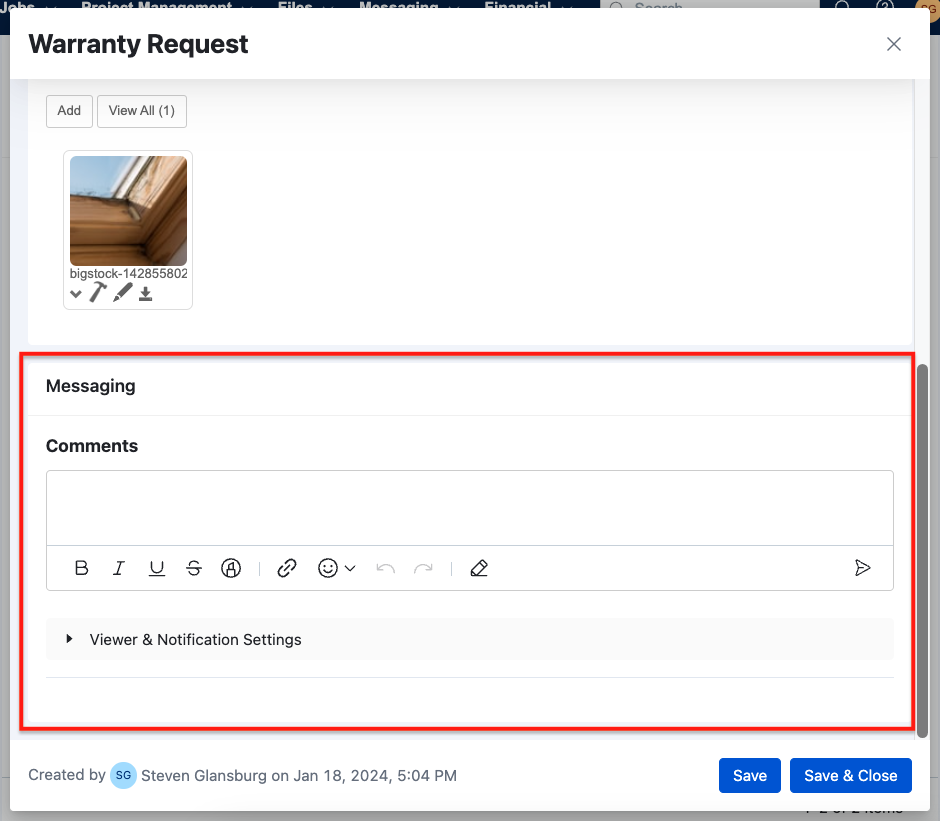
Once the request is SAVED for the first time, you will see a Messaging area appear at the bottom of the window. This allows you to communicate directly with our Customer Care Department about this request.
Upon receiving the claim request, we will either accept or reject it. If approved, we will schedule a service appointment through Buildertrend. You will receive a notification once the appointment is finalized. Check the Warranty section of your Buildertrend account to view the pending appointment in the Scheduling Information column. Additionally, the Feedback column will indicate that the appointment is awaiting your approval.

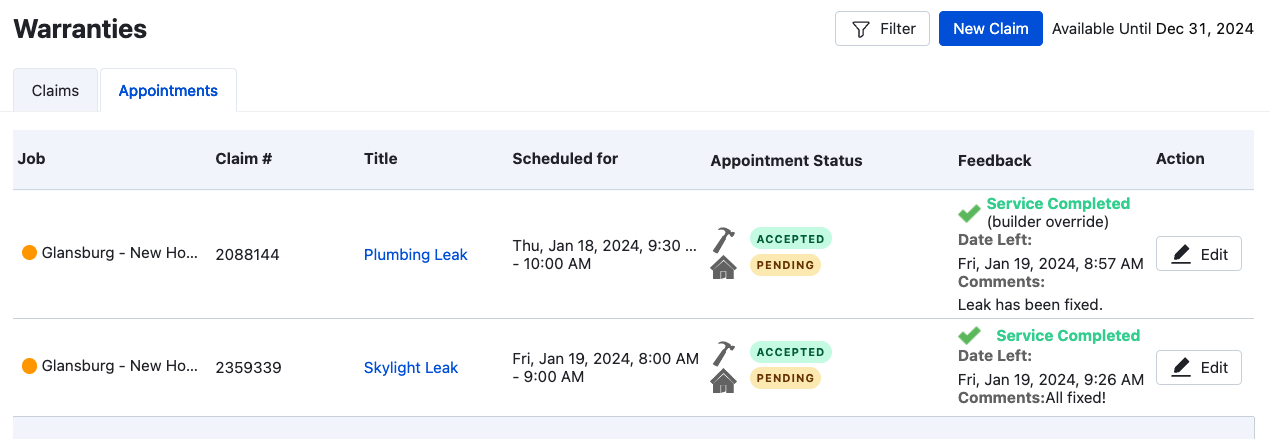
To approve or decline a scheduled service appointment, click the Appointments tab. Then, click the Edit button within the Action column.

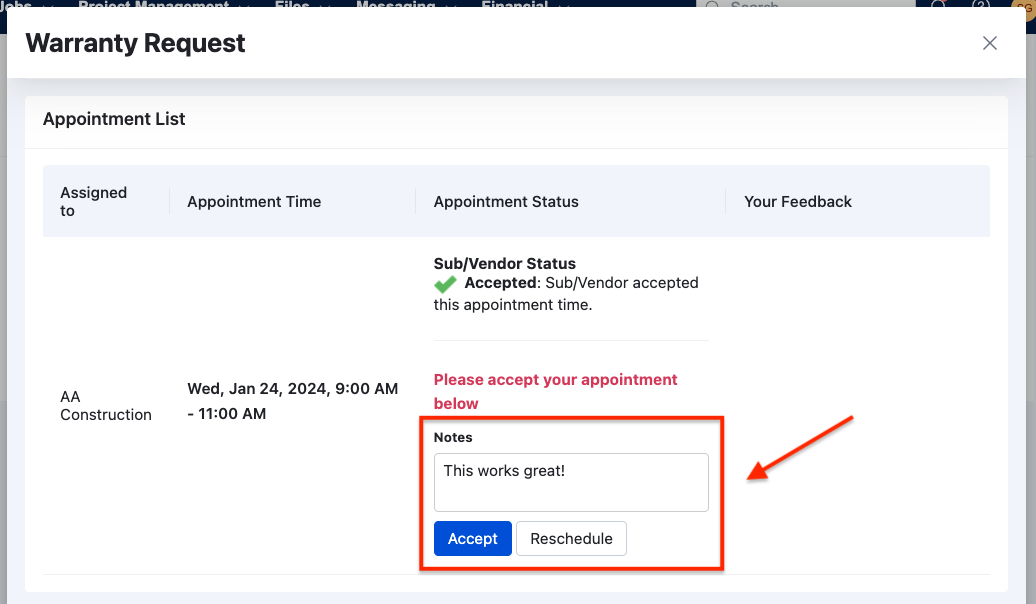
Next, scroll down to the Appointment List area. Type any comments in the Notes area and then either Accept the appointment or request a rescheduled time.
After the scheduled appointment, you can provide feedback to us on the completion of the service appointment within the Appointment List section of the Warranty Request window.
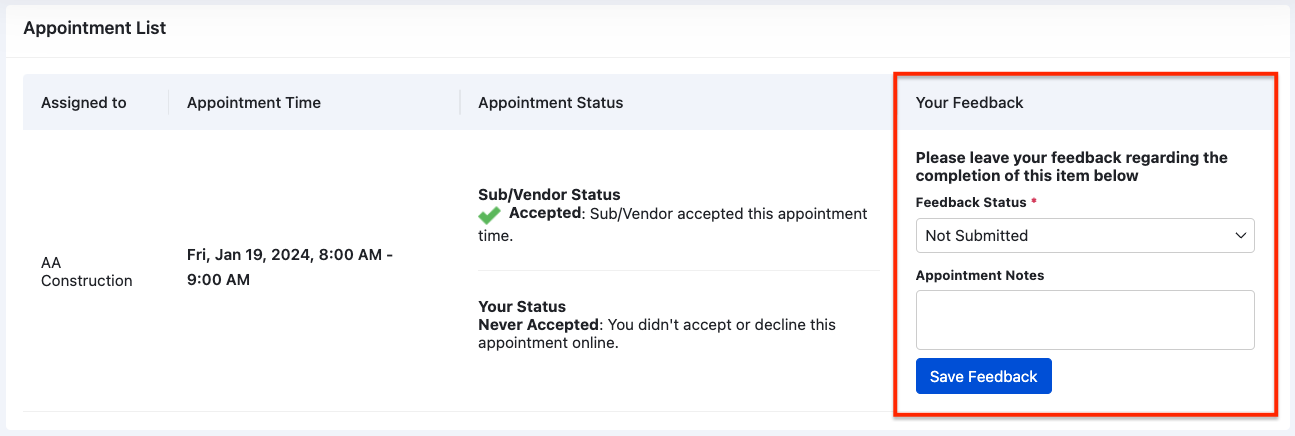
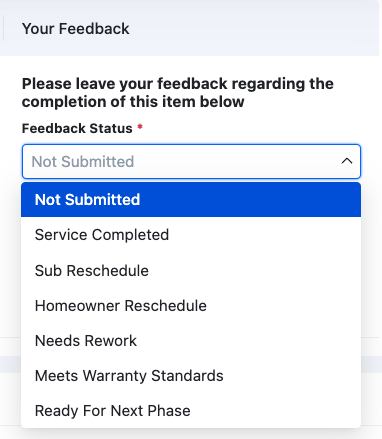
Choose a Feedback Status that best fits the current status of the appointment.
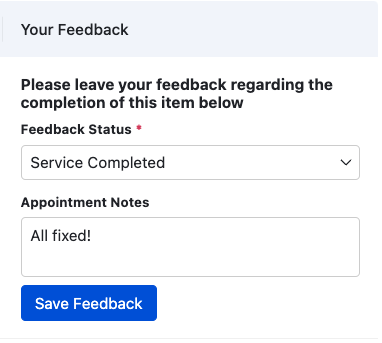
Leave comments about the appointment in the Appointment Notes.
In the Appointments tab, you can view all completed service appointments, their status and related feedback.
